Set ID: 75050 B-Wing
Number of Pieces: 448
Year of Release: 2014
Minifigs: 3
Purchased Price: About SGD 100
There were a total of 3 B-wings produced since the year 2000 (UCS not included). Since its first appearance in 2000, the next variant showed up in 2006 with much better brick choices and sleeker design. And between that version and this, LEGO went ahead to launch the first, and only, UCS B-wing. Having built quite a number of B-wings over the year, the idea of building another, albeit a new one, was not quite appealing to me. As such, this set was tucked in a corner amongst my collection and pretty much forgotten. That was until my son pointed to its obscure location and asked me "What is that, dad?" (Cue a beam of light shining through the storeroom and setting it on the box, with dramatic music effect in the background ...)

B-wing, B-grade?
With less than 500 pieces, I have to manage my expectation of the finished product. B-Wing always pose 2 big challenges for designer and collectors.
 (1) Lack of SNOT finishing on the dorsal wing, or all three wings, for that matter. Ideally, SNOT will be great to accentuate the sleekness of this vehicle. However, I would be happy to accept stud-up appearance on the wings, BUT on both sides of the wings. In a typical horizontal wings profile, the underside of the bricks will not be constantly exposed but for the dorsal wing of the B-wing, one side (in this case its left) will always be seen exposed. This does restrict the photo taking angles to just the right profile, reminding me of Mariah Carey's preference of her right sided profile. On that note, the 2006 version (set 6208) does pip this set in terms of its better use of the sloping bricks and SNOT approach.

 (2) Given the "weird" shape, it is never easy to display the B-wing. Its flight mode is always the better looking profile but without a stand like that in the UCS version, it is never easy to keep it vertical on its own. Its landing stance is certainly more stable but honestly, it appears more like a door wedge to me than a lethal fighting machine that is is meant to be.
The cockpit of the B-wing is supposed to remain level regardless of the plane of travel, offering pilot who suffers from vertigo a chance to take flight. To do this, the cockpit is designed with 360 degree rotatable versatility. However, this gyroscopic property cannot be fully demonstrated in this set as the cockpit rotation design is actually quite stiff. As a result, it does not stay level as desired. This will not be a problem until you put a pilot in it. Why? The entire cockpit seat is entirely SNOT designed, i.e. the pilot will not be affixed to the seat at all. Unless the cockpit remains level, the pilot will better be equipped with some really strong seat belts to keep him safe. Air sickness bag will be a bonus.


According to DK's Star Wars Complete Vehicle Guide, the B-wing is a formidable fighting machine, in the league of X and Y-wings. This is clearly reflected in large choices of the guns / cannons, especially those at the tips of the wings. For some unknown reasons, I do find the guns at the end of the dorsal wing a little too short for my liking. And for goodness sake, I can really do without the ugly spring loaded cannons for so-call "playability". I can accept this play feature IF the entire spring loaded brick is concealed and the long rear end of the cannon is not exposed. Not many sets managed to do this but it is possible. In this set, if LEGO does insist that the feature must be incorporated, then my suggestion is to compromise on the movie accuracy and embed one of those fearful cannons below the cockpit.
With the limited SNOT surfaces to apply stickers on, there is some saving grace that the limited stickers are only found where necessary.
Building Experience

 I have to admit that I always think there are only 2 ways to pose the wings in the B-wings, distinguished by 90 degree differences. It was when I was peering at the box art of this set that I realised the versatility of the wings to be quite impressive. In fact, the front box art illustrates the B-wing in flight mode with the the 2 side wings at 7- degree with the dorsal one. Nice angle to look at, but impossible to pose in real life.
The bricks can be found in 5 different packs. Minifigs are also found in different packs to keep you interested through the build process, which should be in the range of 45 min or so. Box content also include an instruction booklet and a small sticker sheet, crumpled in my case.
Over the years, and most likely due to commercial reasons, LEGO has started moving manufacturing out of Denmark. The latest venture being in Asia (China to be specific) and that was greeted by jeers more than cheers. Price remains (inflated in fact) and quality, well ... Why am I mentioning this? In this set, I found evidence that QC is starting to a blind spot of my beloved toy brand. In this picture below, two 2X1 plates in the same set are actually "different" As subtle as it may seem, such difference does matter, at least to the brand it self. Yes, both serve the same purpose and should not compromise on the integrity of the built, but NO, they speaks volume of a brand that might be growing too big to pay much attention to such details, details that matter to fans around the world.
Minifigs
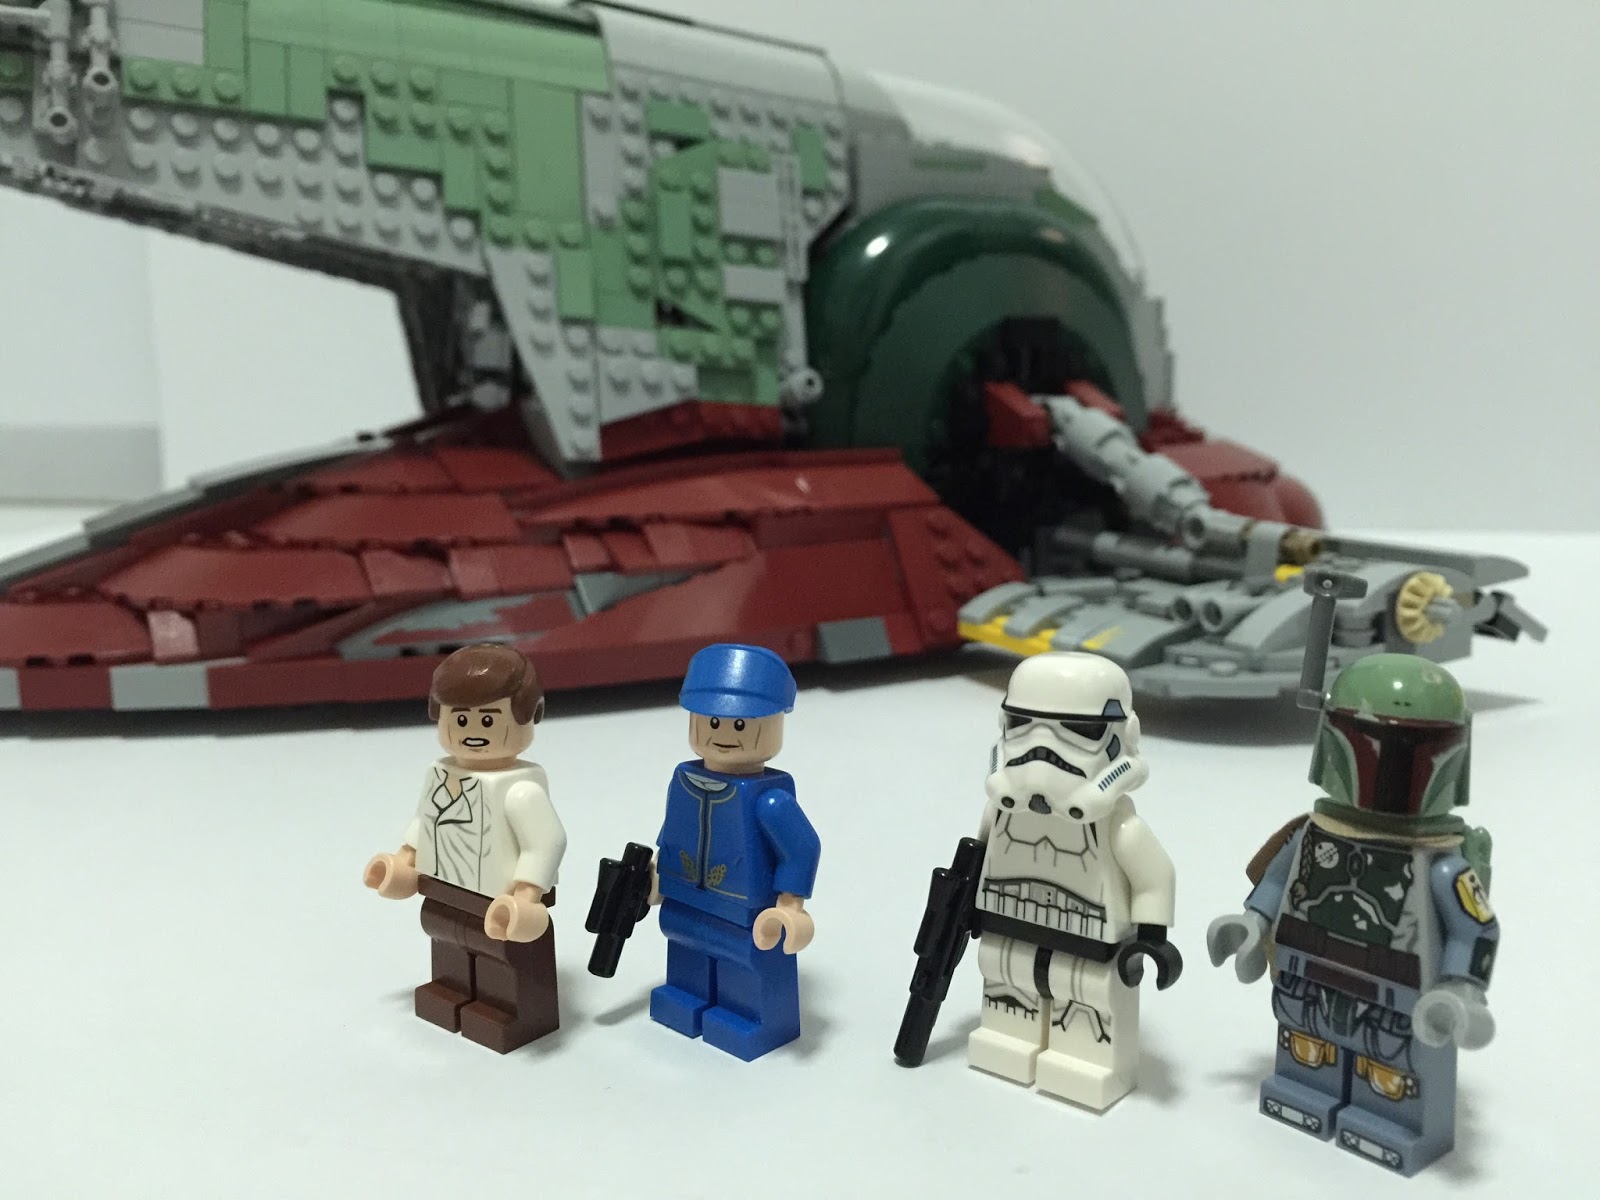
3 unique minifigs come with this set, and will certainly go down well with minifig collectors. Ten Numb is supposed to also fly a B-wing in Battle of Endor so I am a little confused who should actually command this ship, given that there is another unnamed pilot in the set? The clue lies in the red overall that Ten is wearing so I reckon his role here is more of a mechanic than the pilot. His wrench further confirm my suspicion.


Ten Numb - He is rare, appearing only once before in the 2006's B-wing set. Instead of dressing in white flight suit, this variant is in a red overall printed on both sides with high level of details. The breathing tubes printed on the front extends beyond his torso towards the leg piece too. Although not seamless, at least it is an effort to give a sense of continuation between the torso and leg pieces. Ten Numb has rather complex facial features, especially his frog-like eyes and wrinkled complexion. All these are nicely represented on both sides of his head piece, differentiated by a printed mouth piece that integrates with the helmet. Talking about the helmet, it is my favourite part of this minifig. Very impressed with its details and movie accuracy.


General Airen Cracken - Surprisingly, this minifig is only printed on one side of his head piece. His expression is intense and rightly reflect Airen's emotion during the Battle of Endor. Also printed is his microphone and ear piece used for his communication with the rest of his troop. Airen's torso is printed on both sides with details such as the wrinkles and badges on his vest. Leg piece is printed with utility pockets and more creases.


Gray Squadron Pilot - Although unnamed, this pilot is another "hero" in my opinion that epitomise how much research and details the minifig designers have invested in. His unique helmet comes with so much details that I believe it will be hard to recycle this helmet for other minifigs in the future. The full faced helmet is also very accurate with its colour especially when it is used in tandem with the visor-faced expression. The pink visor is very unique to this pilot as the visor printings in other minifigs are typically yellow or clear in colour. The other expression is one with a smirky smile, useful to reflect his more relaxed emotion when not in battle. Similar to Ten Numb, his flight suit is also printed on both sides with tremendous amount of details that extend to his leg piece.
Conclusion
+ This is hard. It adds to my B-wing collection??
+ Nice unique minifigs with accurate details
- Brick inconsistency within the same set. Not a structural problem, but a brand image one
- Uninspiring built
- Can do with more SNOT design on the wings
- Pilot cannot be secured in cockpit

B-wing, B-grade?
With less than 500 pieces, I have to manage my expectation of the finished product. B-Wing always pose 2 big challenges for designer and collectors.
 (1) Lack of SNOT finishing on the dorsal wing, or all three wings, for that matter. Ideally, SNOT will be great to accentuate the sleekness of this vehicle. However, I would be happy to accept stud-up appearance on the wings, BUT on both sides of the wings. In a typical horizontal wings profile, the underside of the bricks will not be constantly exposed but for the dorsal wing of the B-wing, one side (in this case its left) will always be seen exposed. This does restrict the photo taking angles to just the right profile, reminding me of Mariah Carey's preference of her right sided profile. On that note, the 2006 version (set 6208) does pip this set in terms of its better use of the sloping bricks and SNOT approach.
 (2) Given the "weird" shape, it is never easy to display the B-wing. Its flight mode is always the better looking profile but without a stand like that in the UCS version, it is never easy to keep it vertical on its own. Its landing stance is certainly more stable but honestly, it appears more like a door wedge to me than a lethal fighting machine that is is meant to be.
The cockpit of the B-wing is supposed to remain level regardless of the plane of travel, offering pilot who suffers from vertigo a chance to take flight. To do this, the cockpit is designed with 360 degree rotatable versatility. However, this gyroscopic property cannot be fully demonstrated in this set as the cockpit rotation design is actually quite stiff. As a result, it does not stay level as desired. This will not be a problem until you put a pilot in it. Why? The entire cockpit seat is entirely SNOT designed, i.e. the pilot will not be affixed to the seat at all. Unless the cockpit remains level, the pilot will better be equipped with some really strong seat belts to keep him safe. Air sickness bag will be a bonus.


 |
| Spring loaded missiles spoiling the profile of the B-wing |
With the limited SNOT surfaces to apply stickers on, there is some saving grace that the limited stickers are only found where necessary.
|
| Guns a little short at the tip |
Building Experience

 I have to admit that I always think there are only 2 ways to pose the wings in the B-wings, distinguished by 90 degree differences. It was when I was peering at the box art of this set that I realised the versatility of the wings to be quite impressive. In fact, the front box art illustrates the B-wing in flight mode with the the 2 side wings at 7- degree with the dorsal one. Nice angle to look at, but impossible to pose in real life.
The bricks can be found in 5 different packs. Minifigs are also found in different packs to keep you interested through the build process, which should be in the range of 45 min or so. Box content also include an instruction booklet and a small sticker sheet, crumpled in my case.
 |
| Same brick, different origin probably |
Minifigs
 |
| Nice minifigs included! |


Ten Numb - He is rare, appearing only once before in the 2006's B-wing set. Instead of dressing in white flight suit, this variant is in a red overall printed on both sides with high level of details. The breathing tubes printed on the front extends beyond his torso towards the leg piece too. Although not seamless, at least it is an effort to give a sense of continuation between the torso and leg pieces. Ten Numb has rather complex facial features, especially his frog-like eyes and wrinkled complexion. All these are nicely represented on both sides of his head piece, differentiated by a printed mouth piece that integrates with the helmet. Talking about the helmet, it is my favourite part of this minifig. Very impressed with its details and movie accuracy.


General Airen Cracken - Surprisingly, this minifig is only printed on one side of his head piece. His expression is intense and rightly reflect Airen's emotion during the Battle of Endor. Also printed is his microphone and ear piece used for his communication with the rest of his troop. Airen's torso is printed on both sides with details such as the wrinkles and badges on his vest. Leg piece is printed with utility pockets and more creases.


Gray Squadron Pilot - Although unnamed, this pilot is another "hero" in my opinion that epitomise how much research and details the minifig designers have invested in. His unique helmet comes with so much details that I believe it will be hard to recycle this helmet for other minifigs in the future. The full faced helmet is also very accurate with its colour especially when it is used in tandem with the visor-faced expression. The pink visor is very unique to this pilot as the visor printings in other minifigs are typically yellow or clear in colour. The other expression is one with a smirky smile, useful to reflect his more relaxed emotion when not in battle. Similar to Ten Numb, his flight suit is also printed on both sides with tremendous amount of details that extend to his leg piece.
Conclusion
+ This is hard. It adds to my B-wing collection??
+ Nice unique minifigs with accurate details
- Brick inconsistency within the same set. Not a structural problem, but a brand image one
- Uninspiring built
- Can do with more SNOT design on the wings
- Pilot cannot be secured in cockpit